Understanding the Basics of diy wood slat wall
Introduction to diy wood slat wall Design
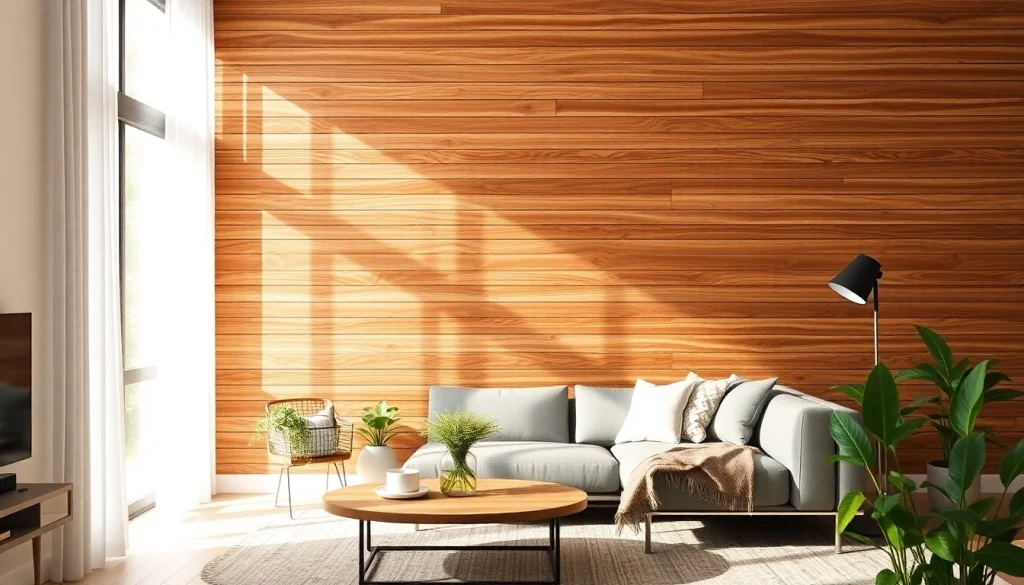
The stunning aesthetic appeal of a diy wood slat wall is both timeless and contemporary, making it an attractive choice for homeowners and designers alike. A wood slat wall can evoke a sense of warmth and sophistication while also providing a great opportunity for creative expression. As more individuals embrace self-made projects, understanding the nuances of designing a diy wood slat wall is essential to achieving a successful installation that enhances any space.
For those looking to tackle this project, a diy wood slat wall can allow for personalization in design, accommodating a range of styles from rustic to minimalist. With the right planning, tools, and techniques, crafting a wooden slat feature wall can turn an ordinary room into an extraordinary focal point.
Essential Tools and Materials
Before embarking on your diy wood slat wall creation, having a clear idea of the necessary tools and materials is critical. You will typically need the following items:
- Wood Slats: Depending on your aesthetic preferences, choose from various woods like pine, oak, or cedar. The width and thickness will determine the overall look.
- Measuring Tape: Accurate measurements ensure you cut the wood slats correctly, thus achieving a balanced look.
- Stud Finder: Generally necessary for determining where to securely mount your slats, ensuring the wall can support them.
- Level: A tool to check that your slats are straight, preventing an unprofessional appearance.
- Cutting Tools: Depending on your preference, a miter saw or circular saw can be used to cut your wood to the desired lengths.
- Adhesives and Fasteners: Choose between construction adhesive, nails, or screws, based on what’s best for your wall type.
- Sandpaper or a Sander: Provides a smooth finish to your wood slats, enhancing their appearance.
- Paint or Stain: To finish the slats, select a color or stain that complements your interior décor.
- Brushes and Rollers: Helpful for applying paint or stain evenly onto your wood slats.
Color and Texture Considerations
The choice of color and texture plays a pivotal role in achieving the desired impact of your diy wood slat wall. Opt for lighter colors to create a spacious feel or darker hues for a more intimate atmosphere. Finishes can range from matte to glossy, each adding a different dimension to the slats. Additionally, you can mix stains and paint techniques to create a unique texture, further enhancing the visual interest. Innovative coloring methods, such as ombre or weathered finishes, can add character to the wall while serving as an eye-catching feature.
Planning Your Project: Layout and Design
Measuring and Marking for Precision
Before any actual installation begins, precise measurements and marking are key. Start by measuring the area where you plan to install the slat wall. Mark the wall with a pencil, indicating where each slat will be positioned. Also, ensure to highlight where wall studs are located, as these will provide additional support for your installation. Accurate markings not only streamline the installation process but also prevent waste and minimize errors.
Choosing the Right Slat Width and Spacing
The width of the slats can dramatically change the wall’s overall vibe. Wider slats create a bold statement, while narrower slats offer a more intricate look. Consider the spacing between slats as well; uniformly spaced slats create a clean, modern appearance, whereas varying the spacing can create visual depth. Aim for an aesthetically pleasing balance that complements the design of the surrounding room while aligning with your vision.
Enhancing Aesthetics with Patterns
Patterns can introduce a level of artistry to your diy wood slat wall. While a straightforward vertical or horizontal alignment is popular, consider experimenting with chevron, herringbone, or staggered designs. These unique patterns can bring dimension and intrigue to an otherwise flat surface. Sketch out different layouts before making any cuts, as visualizing distinct patterns will aid in ensuring they fit well within the existing space.
Installation Techniques for diy wood slat wall
Preparing the Wall Surface
Once you’ve completed your planning, it’s time to prepare your wall surface. Clean the area thoroughly and remove any obstacles that could hinder the installation. Ensure the wall is structurally sound and flat; if there are any imperfections, filler can be used to even out the surface. If desired, priming the wall may help paint or adhesive adhere more effectively, leading to a smooth and successful installation.
Step-by-Step Installation Guide
Following the preparation, the installation can commence. Here is a systematic step-by-step guide to assist in the process:
- Display your design: Use painter’s tape to outline where your slats will be, giving you a visual reference.
- Start with the first slat: Attach it to the wall at your designated starting point, using adhesive or fasteners as necessary.
- Check for level: As you progress, check each slat for level before securing it in place.
- Continue attaching slats: Work your way across the wall, making adjustments as needed to maintain even spacing.
- Finish with the final slat: Complete the row and ensure alignment with all existing slats.
Common Mistakes to Avoid
While the process may appear straightforward, beginners often encounter pitfalls that can affect the outcome. Here are a few mistakes to watch out for:
- Inaccurate measurements: Always double-check your measurements to avoid cutting slats incorrectly.
- Poor surface preparation: Neglecting to clean or prep the surface properly can lead to installation issues.
- Inconsistent spacing: Ensure you maintain uniform spacing to achieve a professional-looking installation.
- Rushing the process: Take your time with each step; haste can lead to poor results and costly rework.
Finishing Touches for a Polished Look
Stains, Paints, and Sealants
As the installation phase comes to a close, applying finishes is essential to protect the wood while enhancing its appearance. Whether you choose to stain or paint your slats, ensure that you apply the finish evenly. If opting for paint, consider using a primer first to improve adhesion. Additionally, applying a sealant will protect the slats from humidity and wear, extending the life of your design.
Adding Acoustic Properties
Another consideration for the diy wood slat wall is its potential acoustic benefits. Adding acoustic panels behind the wood slats can absorb sound, enhancing the acoustic experience in the space. Whether for a media room or a lively gathering area, this modification can make a relevant improvement to the room’s sound quality. Proper planning in these aspects can improve both aesthetics and functionality.
Incorporating Additional Decor Elements
A diy wood slat wall serves as a perfect backdrop for additional decor elements. By incorporating items like floating shelves, artwork, or ambient lighting, you can further personalize your installation and invite additional depth into the room. Consider how these elements interact with the slat wall to create a cohesive design theme that resonates with your style and enhances the overall ambiance.
Maintaining and Updating Your diy wood slat wall
Simple Maintenance Tips
Maintaining your diy wood slat wall will ensure its longevity and pristine appearance. Regularly dust the slats with a microfiber cloth to prevent dirt buildup. For deeper cleaning, look for a gentle wood cleaner that does not harm the finish. Also, inspect for any loose slats or discoloration, addressing minor issues before they become significant problems.
How to Refresh Your Design Over Time
Creating a diy wood slat wall is not merely a one-time project; it can evolve over time to reflect changing design trends or personal preferences. Refreshing the look by changing colors, adding accessories, or even swapping out certain slats can keep the space feeling new. Be open to reimagining your wall and consider how minor adjustments can reinvigorate the area.
Inspiration for Future Projects
Having mastered the art of the diy wood slat wall, you may be inspired to take on additional projects. Consider creating accent pieces such as wooden furniture, shelves, or even outdoor walls. The skills acquired through this installation can translate into various home improvement and decor projects, offering endless opportunities for creativity and personalization within your space.
You may also like
-
Understanding the Necessity and Benefits of an Electrical Panel Upgrade
-
Find Reliable Local Roofers Near Me for Quality Roofing Solutions
-
Top Cabinet Hinge Manufacturers and Their Diverse Offerings
-
Elevate Your Backyard Aesthetics with Custom Swimming Pools Tailored for Luxury
-
Enhancing Your Property with Custom Garages: Design Ideas and Benefits